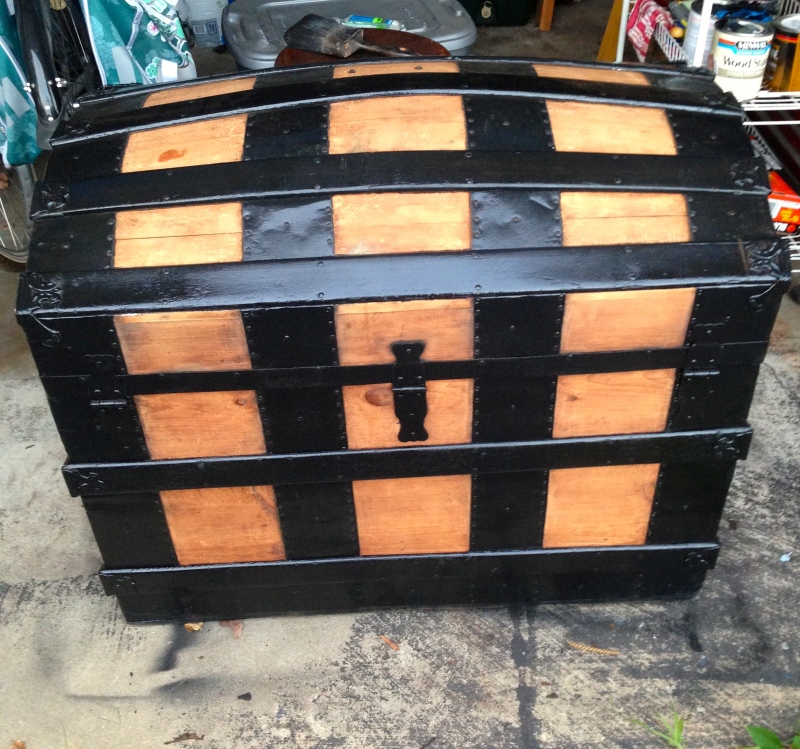
First, let me start by saying, “What a lot of work!” Especially compared to the first trunk I refinished. Secondly, I am so excited to write this post. I’ve had this thing for months and I’ve only been able to work on it a little bit at a time. Let’s go back to the beginning, shall we? You can see the original in the before and after picture. Apparently someone thought they would try their hand at refinishing it by painting those awful green stripes and white accents. First I tried to see if I could get the paint off by sanding, scraping and paint thinner…
After a good hour of that nonsense, I gave up and decided that painting over it would be the next best option. In the picture above, you can see I’d already given up on getting the green off and started filling in holes and taping off the wood areas. That pretty much covers the next step in the refinishing. I used regular spackling past to fill the holes and larger dents. I left the old leather on the trunk until after I painted it and covered the areas where it had already crumbled off with newspaper and tape. This part was the most tedious. Not only does it take a long time, but it doesn’t get any prettier while you’re doing it…
Things started looking up after the first coat of spray paint, though…
Finally, no more ugly green…
Few things are more satisfying than peeling back clean paint lines. Look at that, what an improvement already. The paper peeled off really easily, but I had to use a box cutter and screw driver to get the leather off. There was also some glue residue left, but a little sanding and scrubbing with a wire brush took it off pretty easily.
Next came the stain. Minwax, Colonial Maple…
Even better, but it needed more shine. I found a gallon of polyurethane for floors at the Home Depot in the secret little scratch and dent section in the back for $9. I googled as much as I could about it, and I couldn’t find anything about using floor polyurethane on projects other than floors. I figured, “What’s the worst that could happen?” It could look absolutely fantastic, that’s what!
After the first coat, some of the edges and knots soaked up the shine, but the second coat took care of that. The last thing that needed to be fixed on the exterior was the feet. I got a 50 cent piece of wood from the scrap section in Home depot and some furniture sliders.
I also used more power tools on this project than I ever have before. First it was my miter saw to cut the scrap wood down to the right size, then electric drills to attach the wood and sliders to the bottom of the trunk. I was pretty proud of myself…
The reason I had to make a new base was because one of the metal feet was missing and I have no clue at this point about how to replace it…
Also, I can’t imagine the trunk sliding around on those metal knobs would be good for anyone’s floors. I thought about adding wheels instead of sliders, but they were all ugly. It seemed like it would just look awkward. This covers everything that I did to the outside. I have some ideas for the inside that I’m really excited about, but that’s for another post…
What project isn’t complete without some help from the cat…


